Planting Pepper Seeds Experiment – Planting Domes
I mentioned in my peppers planned for 2020 post that I was going to experiment starting seeds. My setup is different now (lighting, counter space, etc.) so why not try something new? The video I’ve included below helps to describe what’s new for this year, but read on for the details.
Setting the Stage for Planting Pepper Seeds
When I moved, I gave away of a lot of my old supplies — cheaper to re-buy than it was to move them. One of the first things I re-bought was a seed germinating heat mat. This house is cooler overall, so I know the seeds will appreciate the warmth (and will germinate faster).
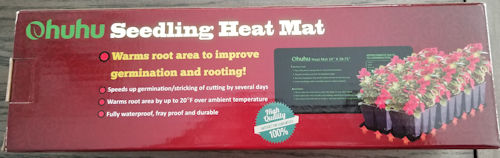 Lots of them on Amazon these days, which is where I buy something like 95% of my supplies. I looked for something inexpensive and had a decent rating (I know, real scientific). Here are some seed germinating heating mats if you want to look them over. But, the one I got was made by Ohuhu.
My real experiment is going to be testing an inexpensive germination dome setup against one of the more expensive seed starting Bio-Domes. I got a set of 10 trays for starting seeds, which also came with some teeny tools and some labels; I think I paid around $15 for it. Of course, I need to supply the seed-starting mix and a seed-starting fertilizer (regular stuff, just really diluted).
The Bio-Dome is substantially more expensive, although it does come with the seed starting plugs and some fertilizer. It’s also more solidly made. There are several version of it, but I got the one that had 18 sections. (I felt it was more in line with the size of the sections in my mini-domes.) The advantage to this one is with the length of time the plant can stay in the dome, and the ease of transplanting.
Pros and Cons (I Think)
As to the inexpensive heating mat — that’s just a pro all the way — unless your seeds need cold for germination, don’t try germinating seeds without one.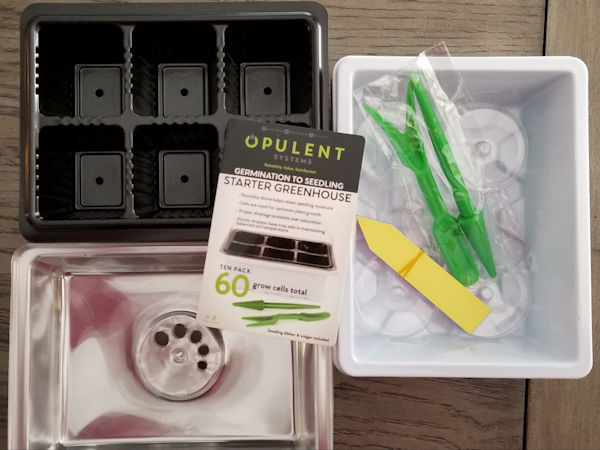
For the inexpensive set of 10 trays (with small domes included), the pro is definitely the cost. Supplying the seed starting mix and fertilizer is kind of a given, so that’s not a pro or con. The con is the construction — as you might guess for the cost, it’s a bit on the flimsy side. But I think I can get several uses out of one dome set.
The unknown is how difficult it will be when it comes time to get the seedling from its cell into another pot, prior to planting in its final location. But as silly as they may seem, I think those little tools (in green in the photo) will help. Otherwise, I am liable to crush the black cells trying to pop out the plants (like I said, they are flimsy).
As I’ve been writing this, I’ve also been looking over the inexpensive domes. and I may have to either poke another hole or two on the bottom of each cell, or make the existing one a little larger. But that shouldn’t be too hard.
For the more expensive Bio Dome, the pro is that it’s more solidly made and comes with the plugs (what you plant your seeds into). And it also has fertilizer included. Oh, and the watering system ends up being self-watering — far less monitoring for drying out.
The con is the price; they aren’t really cheap, but if they live up to their reputation of being able to keep the seedlings in the tray longer before transplanting, that will help. And if they also live up to the claims of a super-easy transplant, that will make things easier on me, seeing as I will be transplanting 30+ seedlings of various kinds (peppers, tomatoes, etc.).
The unknown is exactly how well that will work! From the demos I’ve seen, it’s super-easy to pop out the plug and transplant to its final location; no in-between stage needed. Hmmm. I will probably still do an intermediate stage for at least some of them, to help harden off the plants before putting them into their final locations in the garden.
Lights, Action…Video!
Here’s the video demo I did comparing the systems — I hope it’s helpful for you, to see the differences in the two systems. 😀


